Tools
Parts
No parts specified.
-
-
Verify the Build Assembly Part # on the BOM paperwork & the Build Part # in Dozuki Match
-
Enter Work Order # to Start Build Clock
-
-
-
You are a defender of the CorkSport Brand.
-
Our customers work long and hard. Almost as hard as you do. They are really excited to get these parts.
-
Adding a little detail and extra care into packaging makes a big difference in the impression made when the box is opened.
-
You add some positivity to people's life. Our parts put a smile on their face.
-
Thank you for making the CS brand so widely respected.
-
-
-
Certain methods of cleaner more effective packaging have been identified and should be used
-
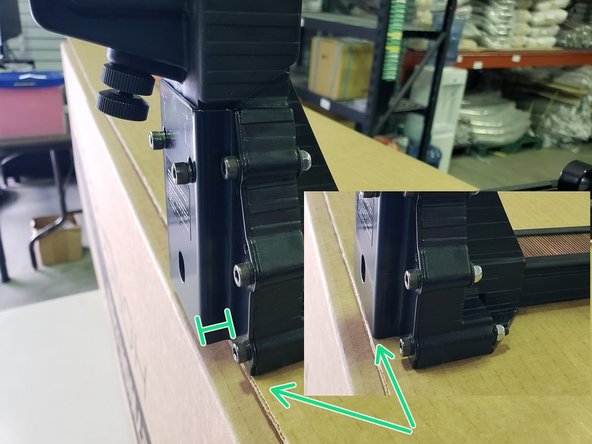
Boxes should be stapled within the range of the leading edge of the stapler, as shown
-
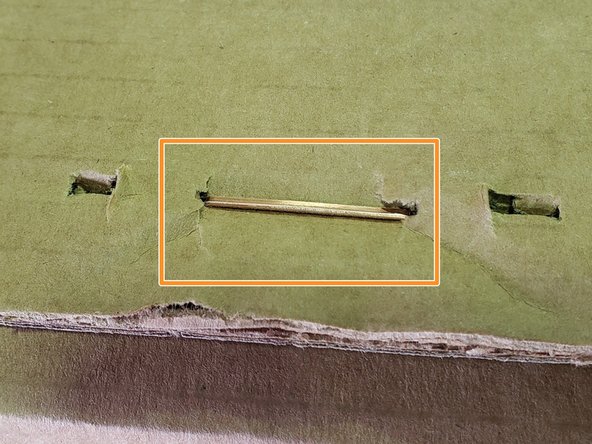
Staples should be set so that the cardboard underneath is depressed enough that the staple is flush with the cardboard surface. Do not over or underset staples
-
Tape should not have dirt or finger prints underneath it
-
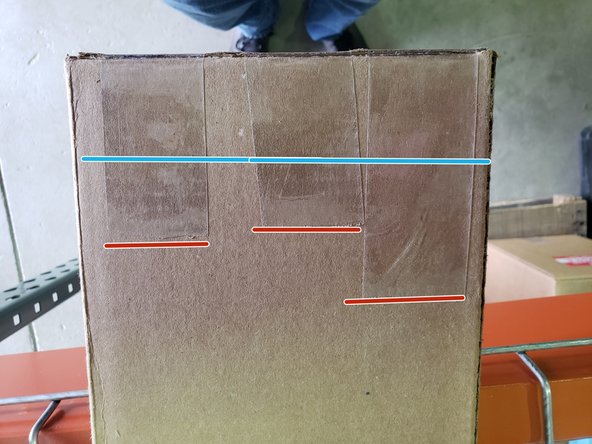
Tape should not have uneven edges or strips, bad is shown with red while blue indicates acceptable
-
Gloves (or definitely clean hands) should be used to handle white cardboard
-
-
-
Verify part quantity
-
Verify quantity for each line item on QB BOM
-
-
-
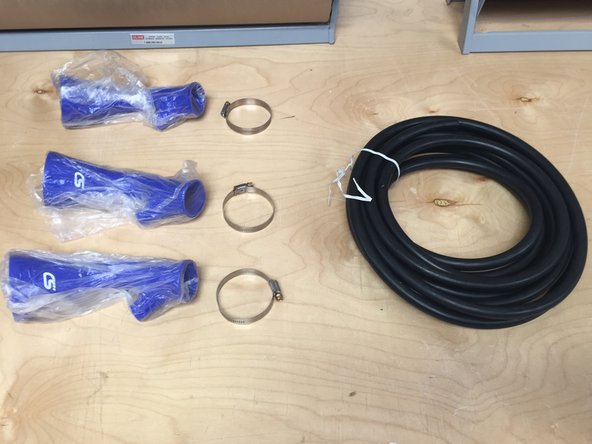
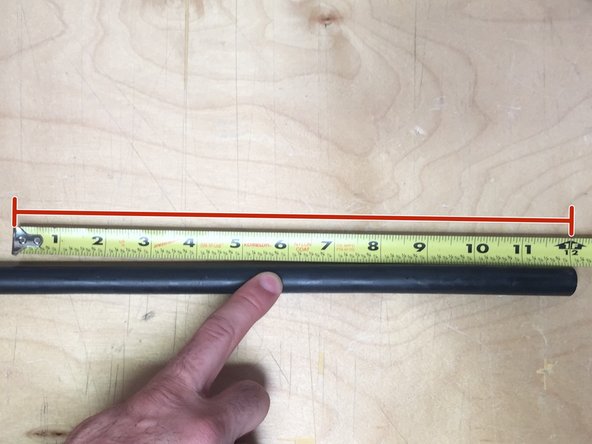
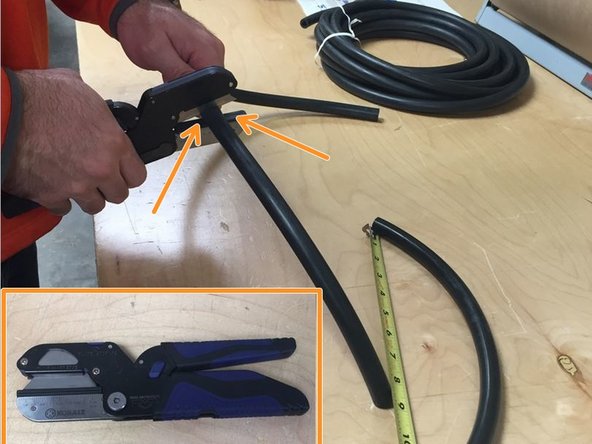
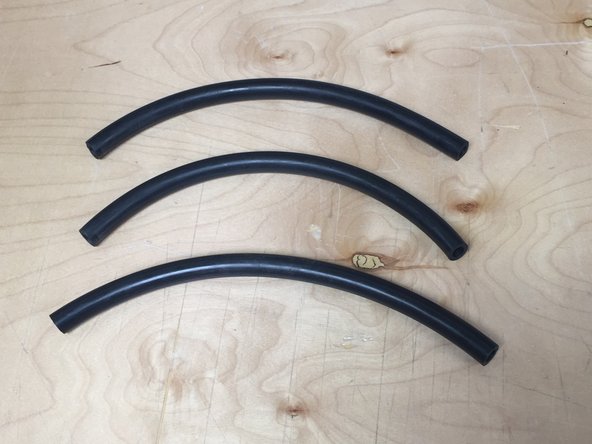
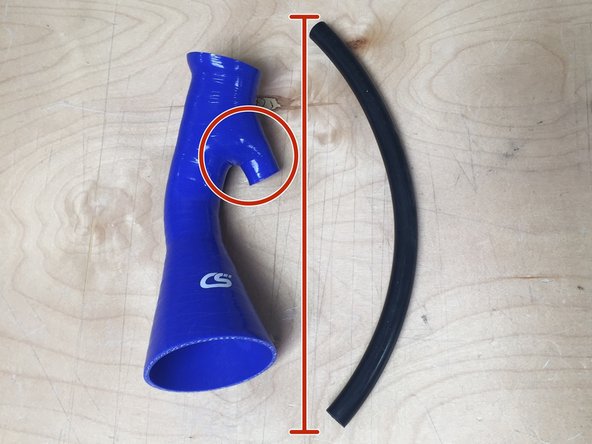
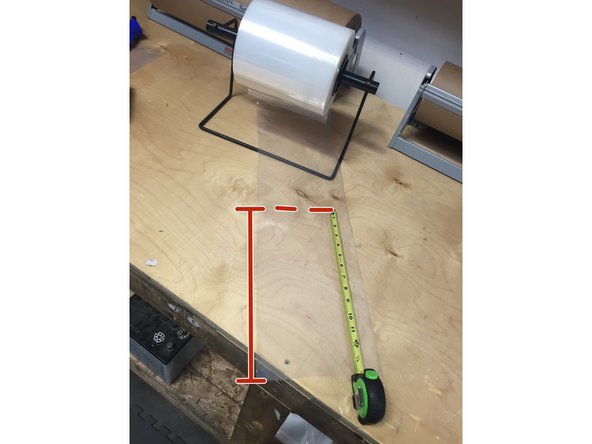
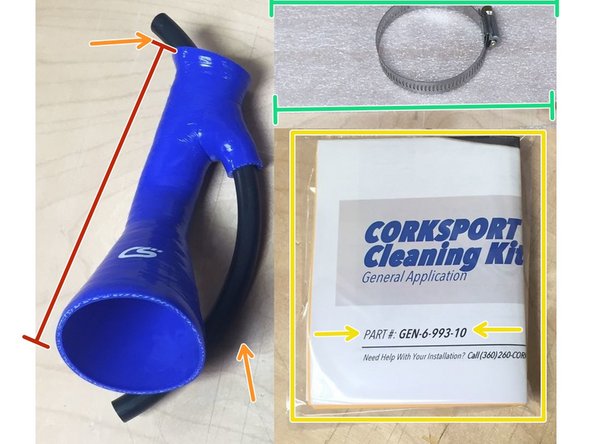
Measure 12" of hose
-
Cut using the hose cutters
-
Cut with an error margin of +- 1/16"
-
Hose is expensive and an inventory error will result if cut is not accurate
-
-
-
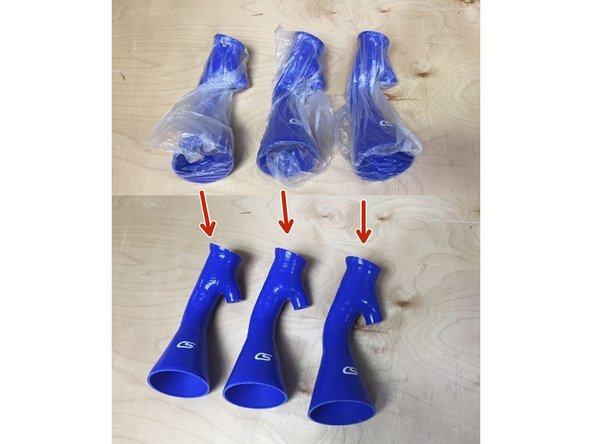
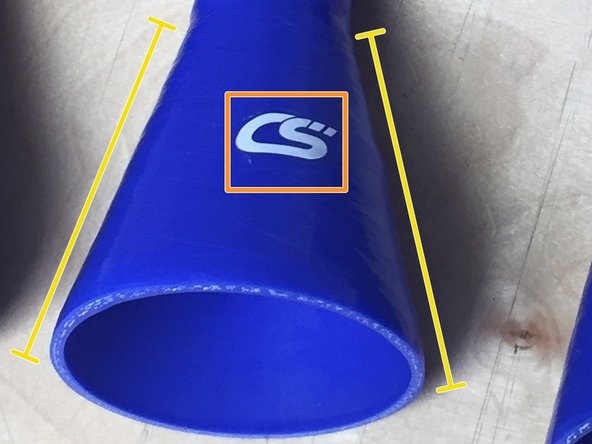
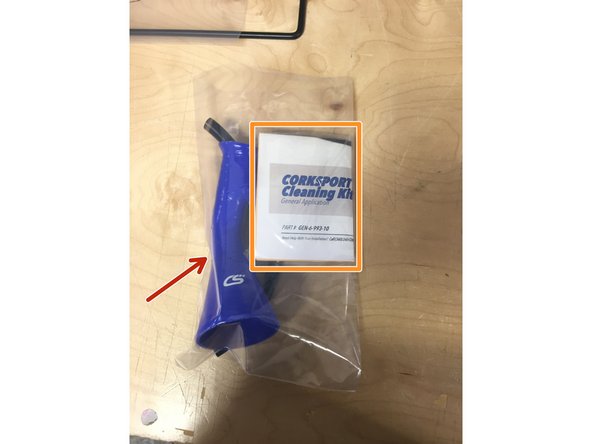
Unwrap valve cleaning attachment
-
Inspect:
-
"CS" logo for proper orientation and ensure free of distortion
-
Silicone for defects
-
-
-
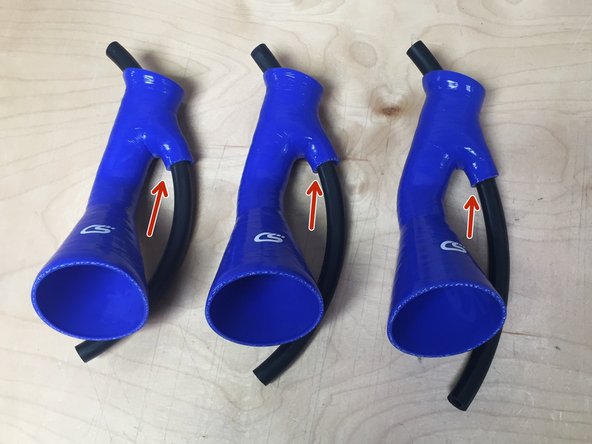
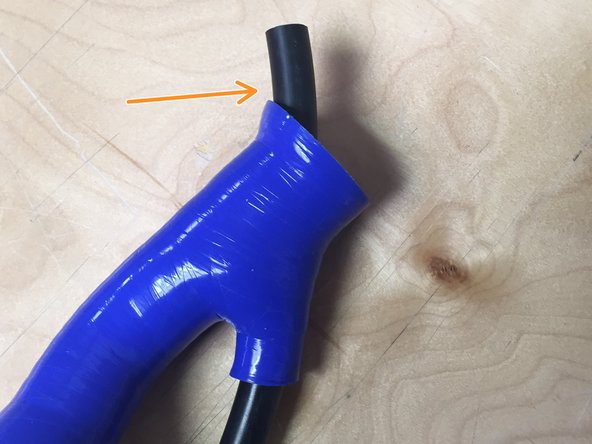
Insert hose into silicone valve cleaning attachment as shown
-
Leave approximately 1" of hose sticking out of the attachment top as shown
-
Set assembly aside for later
-
-
-
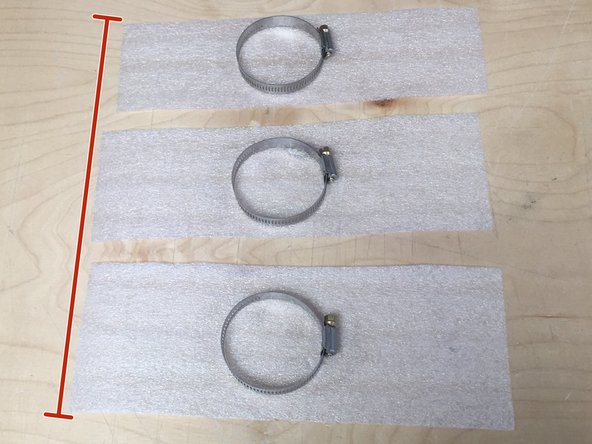
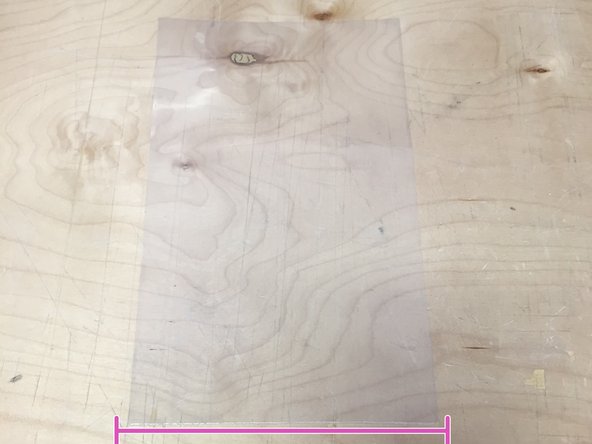
Cut a sheet of 1/16" foam into thirds
-
Your hose clamp to foam sections ratio may be off slightly, but any more than 1/3 of a foam sheet is too much.
-
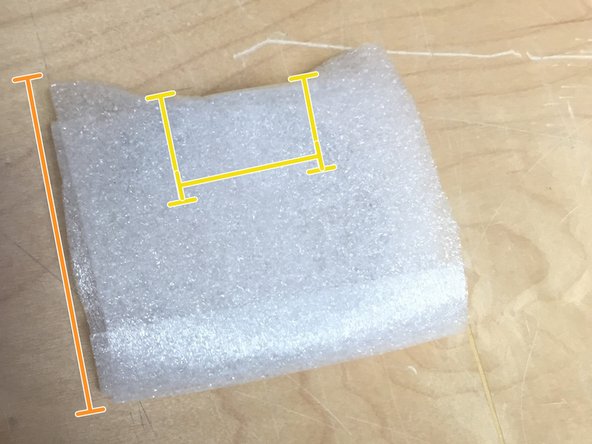
Wrap each side over the hose clamp to create a little envelope as shown
-
Add a single piece of tape to secure
-
Set aside for later
-
-
-
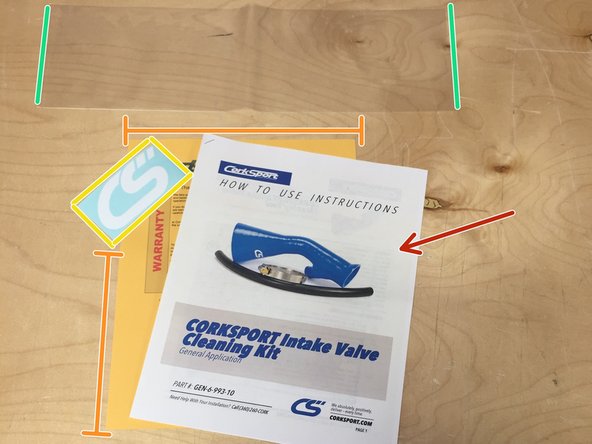
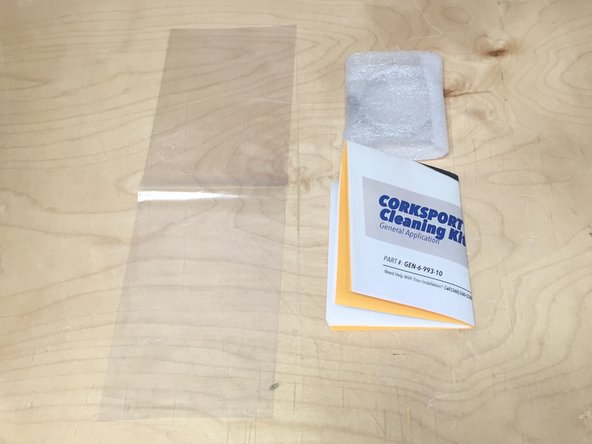
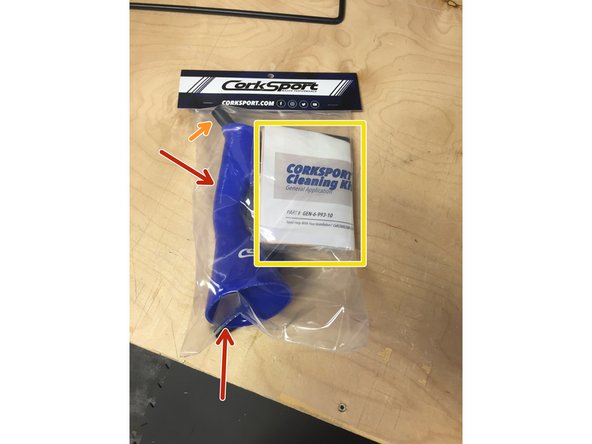
Assemble documentation packet
-
Installation Instructions
-
Warranty
-
Corksport Sticker
-
5x16" poly bag
-
Fold into fourths as shown with sticker inside
-
Fold so that part number is visible at bottom of instruction packet
-
Wait to insert/seal poly bag for later step
-
-
-
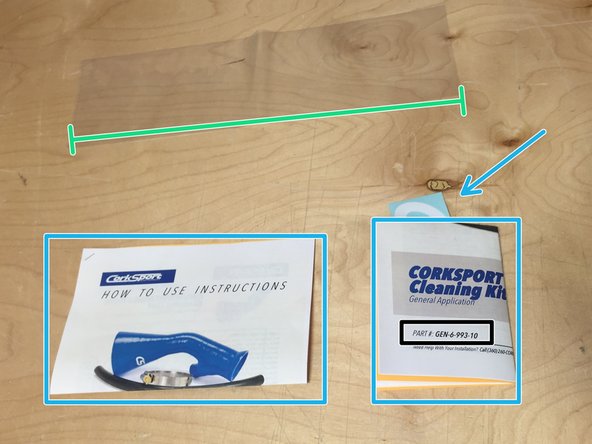
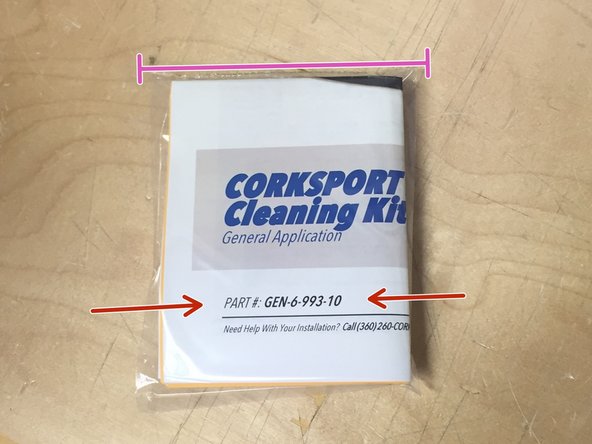
Place and orient documentation packet into poly bag so "Gen-6-993-10" part numbers are facing forward
-
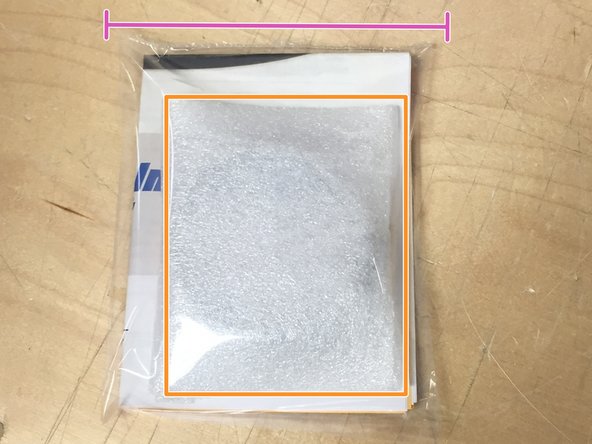
Add clamp to back of instruction packet as shown
-
Seal
-
-
-
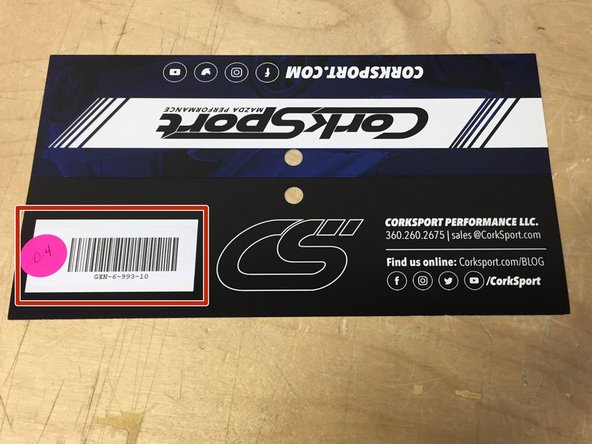
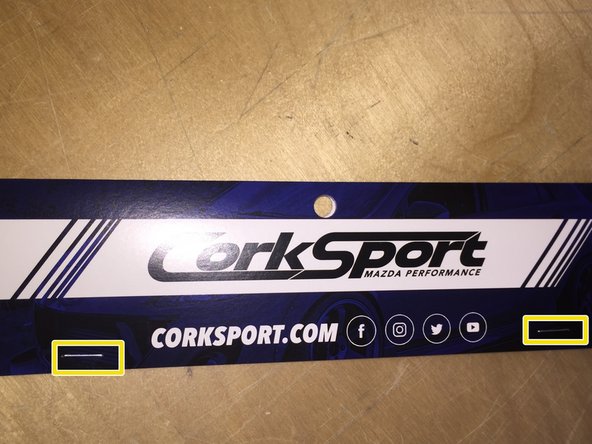
Use large header
-
Place barcode and QA dot on header
-
-
-
Measure and cut ~14" of 8" poly tubing as shown
-
Seal one end to create a poly bag
-
-
-
Insert:
-
Valve cleaning attachment with silicone hose
-
Ensure "CS" logo is upright as shown
-
Documentation packet containing hose clamp
-
Ensure part number is visible through bag
-
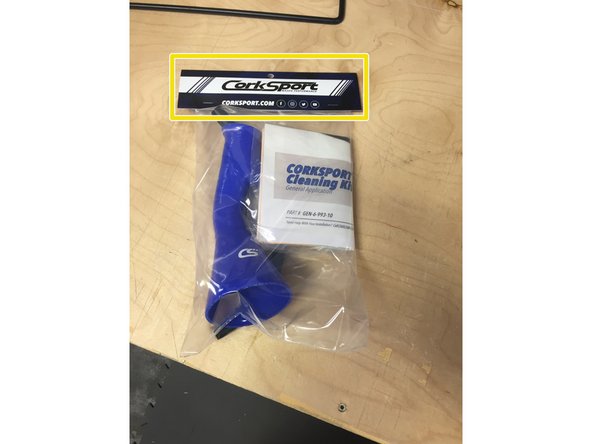
Attach header as shown
-
Header should be attached with two staples on the front of the header as shown
-
-
-
Verify bag contains:
-
Valve cleaning attachment with "CS" logo upright as shown
-
Silicone hose as shown
-
Documentation packet with part number visible on front
-
Hose clamp wrapped in foam and in packet with instructions
-
Barcode on header reads Gen-6-993-10
-
-
-
Initial and Date QA Dot and apply
-
Fill out QB BOM
-
Place on shelf for final inspection
-
-
-
Complete Form
-
-
-
Click Complete Guide to Finish Build
-